How to Use Drones for Agriculture in India?

Introduction
India’s vast agricultural landscape plays a pivotal role in the nation’s economy, but it faces several challenges—climate change, resource management, labor shortages, and low productivity. To address these issues, technology is increasingly stepping in. One of the most exciting innovations is the use of agricultural drones. These unmanned aerial vehicles (UAVs) offer farmers a unique way to monitor crops, optimize resources, and increase yields. But for a majority of the farmer population, the idea of using these drones can be overwhelming. This article breaks down the process into simple steps, helping farmers in India make the most of this technology.
Table of Contents
Understanding the Role of Drones in Agriculture
Step 1: Choosing the Right Drone
Step 2: Setting Up the Drone for Use
Step 3: Planning the Drone Mission
Step 4: Conducting the Flight
Step 5: Analyzing the Data
Step 6: Implementing Actions Based on Data
Step 7: Maintenance and Safety
Renting Agricultural Drones
Conclusion
Understanding the Role of Drones in Agriculture
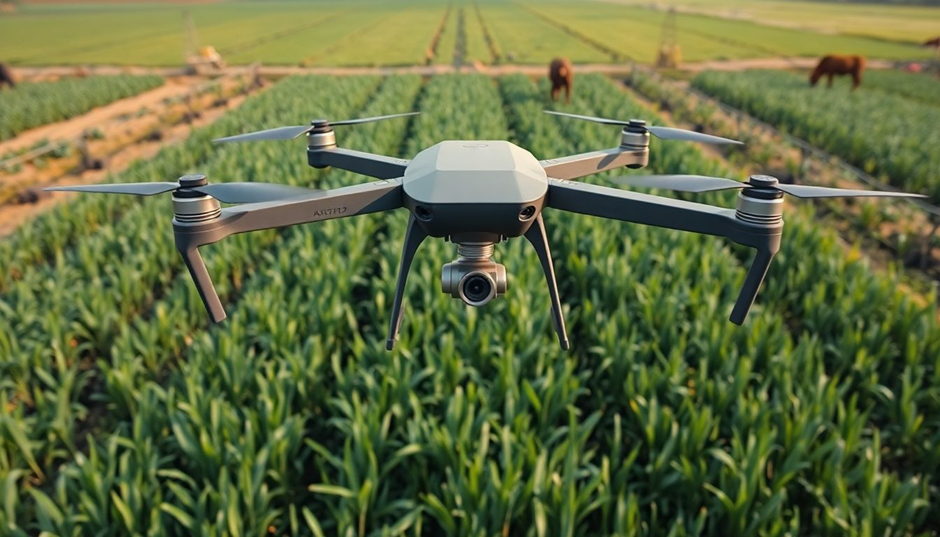
Drones are revolutionizing agriculture by providing farmers with real-time aerial insights that would otherwise be hard to obtain. Drones can capture high-resolution photographs and collect data from multiple sensors, making it easier to monitor crop health, analyze irrigation demands, and even administer pesticides or fertilizers more precisely. In India, where agriculture is important to the economy, drones can assist farmers in addressing concerns such as unpredictable weather and inefficient resource use, ultimately increasing productivity and sustainability.
Step 1: Choosing the Right Agricultural Drone
The first step in incorporating drones into farming is selecting the right one. Agricultural drones come in various shapes and sizes, each designed for specific tasks. There are two main types of drones commonly used:
-
Multirotor Drones: These are perfect for smaller farms. With their ability to hover and take detailed images, multirotor drones are typically used for crop monitoring, spraying pesticides, and mapping. They are easy to control and can provide high accuracy in smaller areas.
-
Fixed-wing Drones: These are ideal for large farms with expansive fields. Fixed-wing drones can cover more ground in less time and are used primarily for surveying and mapping large areas. They are also equipped with advanced sensors to help farmers collect detailed data on soil health and crop conditions.
Before choosing a drone, assess your farm’s size, what you need the drone to do, and your budget. If you’re looking for a drone to monitor crop health or map large sections of land, make sure it has the necessary sensors and battery life to complete the task.
Step 2: Setting Up the Drone for Use
After purchasing the right drone, it’s time to get it ready for use. Setting up your drone is a crucial step to ensure smooth operation:
-
Calibration: Calibration ensures the drone’s GPS, sensors, and camera are functioning accurately. This step is particularly important for precision farming tasks like spraying or mapping, where accuracy is key.
-
Charging the Batteries: Drones run on rechargeable batteries, and depending on the model, flight times can range from 20 minutes to over an hour. Make sure the drone is fully charged before use, and keep spare batteries on hand to avoid interruptions during the day.
-
Install the Software: Many drones come with accompanying apps or software to plan your flights, control the drone, and analyze the data next. Set up the software on your smartphone or computer and make sure it’s linked to the drone.
Step 3: Planning the Drone Mission
Before sending the drone up into the sky, it’s important to plan the mission. This includes deciding which parts of the farm you want to monitor and what tasks you need the drone to perform:
-
Flight Area Mapping: Using the drone’s software, create a flight plan by marking the flight path, setting waypoints, and specifying the altitude. The software will automatically adjust the flight path for optimal coverage. You can also divide the farm into smaller sections for better efficiency.
-
Choosing the Task: Choose the right image mode (such as thermal or multispectral) if you’re using the drone to monitor crop health. This can help you identify problems like pests or nutrient shortages. Adjust the spray nozzles on the drone to dispense the appropriate quantity of fertilizer or insecticides if you’re using it for spraying.
Proper mission planning reduces the chances of missing areas and ensures that the drone operates efficiently.
Step 4: Conducting the Flight
After setting everything up, it’s time for the flight. Here’s a step-by-step overview of how to proceed:
-
Launching the Drone: Follow the manufacturer’s instructions to safely launch the drone. It’s best to choose an open space free from obstacles to prevent accidents. Once the drone is in the air, it will begin its mission automatically if you’ve set up the flight plan.
-
Monitoring the Flight: Monitor the drone’s performance while it is in flight. Many drones include real-time video feeds, allowing you to monitor crop conditions as the drone flies. Check the battery levels and flying parameters to avoid surprises.
-
Data Collection: During the flight, the drone captures images and data about the crops and land. This data is then sent to your device, where it can be analyzed later. Drones with thermal and multispectral sensors can detect issues like water stress, fungal diseases, and nutrient deficiencies in real-time.
Step 5: Analyzing the Data
Once the drone has completed its mission and returned to the ground, the next step is to process and analyze the data it collected. Most drones come with software that helps interpret the images and data gathered during the flight.
-
Crop Health Monitoring: For assessing crop health, drones equipped with multispectral cameras can identify areas where plants are under stress. This might include signs of disease, pest infestation, or inadequate watering. Analyzing this data helps you take timely action and prevent crop damage.
-
Field Mapping and Yield Prediction: Drones can generate detailed maps of your field. These maps can highlight areas that need more attention, such as soil that may be less fertile or regions that require better irrigation. By analyzing these maps, you can predict crop yields more accurately and adjust your strategies accordingly.
Step 6: Implementing Actions Based on Data
The real benefit of using drones comes from the ability to act on the data collected. For example, if the drone identifies a section of the farm that has poor irrigation, you can take corrective measures like adjusting the watering system or introducing drought-resistant crops. Similarly, if pests are detected, you can apply pesticides only to the affected areas, reducing overall chemical usage.
Using drones for precise interventions saves resources and improves the efficiency of your farming activities.
Step 7: Maintenance and Safety
Following each flight, it is critical to inspect the drone for any maintenance issues. This includes cleaning the camera lenses, inspecting the rotors for damage, and recalibrating the system as needed. Regular maintenance safeguards that the drone stays in good working order and ready for the next mission.
Renting Agricultural Drones
For farmers who require access to drone technology but cannot afford the hefty upfront costs, agricultural drones for rent is the most effective and affordable solution. Farmers may rent drones for specialized operations like field mapping, pesticide spraying, and crop monitoring thanks to rental services’ flexibility. These services usually remove the need for technical skills by providing the drone, required software, and trained operators. Because rentals are offered on a daily, weekly, or monthly basis, it’s simple to select the length of time that best suits your needs. Without the long-term commitment of ownership, renting enables farmers to have access to cutting-edge drones customized for the size and needs of their farm. For small to medium-sized farms wishing to effectively and economically use contemporary farming technologies, this is the best choice.
Conclusion
A revolutionary step toward improved farming methods and more productivity is the implementation of drones in Indian agriculture. By selecting the appropriate drone, setting it up correctly, and utilizing its data-gathering and analytical capabilities, farmers will be able to improve their decision-making and increase crop output. Along with saving time and money, drones also support sustainable farming practices and aid in crop health monitoring. Drones will undoubtedly become more significant in determining India’s agricultural destiny as technology develops. Adopting this innovation will help farmers meet the challenges of the contemporary agricultural environment.