Water is life, especially for our crops. But using water in the right way is an even more critical process. In today’s time, when water levels are going down and farming costs are increasing, drip irrigation can be an innovative and affordable solution for Indian farmers.
You know drip irrigation is one of the best and most water-saving methods to irrigate your crops and fields. It is very helpful for Indian farmers, especially in those areas where rain occurs in a limited amount and the temperature goes very high during the day, like Rajasthan.
Many small and marginal farmers think drip irrigation is costly or only affordable and useful for large farmers. But this whole fact is not true. With proper planning and low-cost techniques, you can install drip irrigation even on a small budget in a small farm.
In this article, we will discuss how we implement drip irrigation on a budget.
What is Drip Irrigation?
Drip irrigation is a process in which water is provided to plants gradually, drop by drop, directly at the roots. This method uses narrow pipes or tubes with small holes (called emitters) that release water in a controlled manner. It is the best way to give water to plants with minimum wastage of water during irrigation.
Drip irrigation ensures that only the plant gets water, not the whole field, which can reduce water waste.

Benefits of Drip Irrigation for Indian Farmers
Let’s understand why drip irrigation is better than other methods:
1. Saves Water
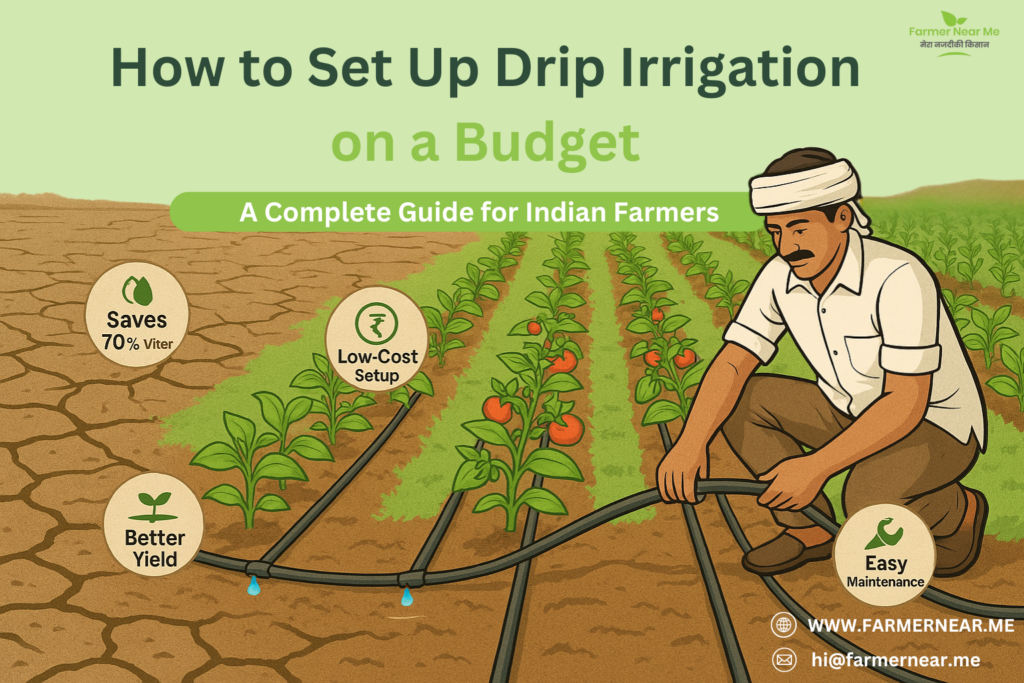
- Drip Irrigation uses up to 60–70% less water compared to flood irrigation. This method is very helpful for those areas where water is scarce.
2. Saves Labour
- Once it is installed, you don’t need to water plants manually every day. This method saves time and energy.
3. Increases Crop Yield
- When plants get regular water directly near the roots, they grow faster and give a better yield compared to other plants.
4. Reduces Weeds
- Only the plant root area gets water, by which weeds are not able to grow in dry areas. That reduces the cost of removing weeds from the fields.
5. Suitable for All Types of Land
- Whether your land is flat or sloped, drip irrigation can be installed easily, and it can be suitable for all types of land.
6. Works Well in Kitchen Gardens and Pots
- It is not only for big farms you can also use drip irrigation in your home garden, terrace, or even in pots.
What Do You Need for a Drip Irrigation System?
You don’t have to purchase an expensive branded kit. Most of the components are readily available in local stores or online. Here is a complete list:
1. Water Source:-
A tank, drum, well, borewell, or hand pump. Water must be clean and sufficient to fulfill crop requirements.

2. Main Pipe:-
A large pipe (HDPE or PVC) that supplies water from the source to the field.

3. Lateral Pipes:-
These are small pipes (12mm or 16mm) running along crop rows. They consist of holes or drippers to drip water.

4. Emitters or Drippers:-
These are installed in lateral pipes. They drop water gradually (1 to 4 liters an hour) at the root base of each plant.

5. Filter:-
A screen filter or sand filter is used to remove dirt or sand from water so that pipes and emitters don’t get blocked.

6. Control Valve:-
Used to open and close water flow.

7. Connectors, Joiners, and End Caps:-
Used to join and seal other components of the pipe system.

How to Install a Low-Cost Drip Irrigation System – Step-by-Step Guide
Step 1: Plan the Layout
- Take measurements of your field and crop rows.
- Identify where the main pipe should run and how many lateral pipes are required.
- Calculate how many drippers will be required (one per plant or two, depending on the spacing).
Step 2: Arrange the Material
- Purchase parts from the local agricultural stores or hardware markets.
- Buy parts individually rather than in a kit form this saves your money.
- Reuse your existing material like water tanks, drums, or pipes on your farm if possible.
Step 3: Place the Water Tank or Drum
- Put the water tank in an elevated position (at least 3-4 feet) to obtain gravity pressure.
- Use bricks or iron support to construct a firm base.
Step 4: Connect the Main Pipe
- Join the pipe from the water tank to the field.
- Connect a valve to regulate the flow of water.
Step 5: Install Filter
- Fix a screen or cloth filter just after the water tank to remove dirt particles.
- Clean the filter regularly to avoid pipe blockage.
Step 6: Lay the Lateral Pipes
- Place the lateral pipes along with the crop rows.
- Keep the pipes straight and hold them in place using small sticks or stones.
Step 7: Fix the Emitters
- Use a punch tool to make holes in the lateral pipe near each plant by which water is provided to plants gradually, drop by drop, directly at the roots.
- You can fix drippers, or if you want a cheaper option, make tiny holes in the lateral pipes using small nails.
Step 8: Seal the Pipe Ends
- Close the end of the pipe by using end caps, or just fold it and tie it with a rubber band or thread to stop the water flow from the end of the pipe.
Step 9: Test the System
- Open all the valves and see if water is coming properly from each dripper or not.
- Water should come out slowly and equally from all emitters or drippers.
- Adjust the pressure or clean blocked emitters when needed.

Which Crops Are Suitable for Drip Irrigation?
A drip system can be used for almost every crop, but it is not suitable for those crops that require large amounts of water like paddy. Some best options are:
Vegetables:
- Tomato, Brinjal, Chilli, Okra, Bottle Gourd, Cucumber
Fruits:
- Banana, Papaya, Pomegranate, Mango, Guava, Citrus
Flowers:
- Marigold, Rose, Jasmine, Gerbera
Other Crops:
- Cotton, Turmeric, Sugarcane, Medicinal Plants
Maintenance Tips for Long Life
- Clean the filter every week.
- Check for leaks in pipes or loose connections.
- Flush the pipes every month.
- Store pipes carefully when not in use.
- Use shade or mulch to protect pipes from direct sunlight during the summer.
Common Questions and Simple Answers
1. Is drip irrigation better than sprinklers?
Yes, drip is better for row crops and small farms, but sprinkler is suitable for big open fields like wheat or paddy.
2. What if water is not coming out from some emitters?
Check for blockage. Take out the dripper and wash it with water. Use filtered water to prevent this.
3. Can we use drip irrigation without electricity?
Yes, just keep the tank at a height and let water flow by gravity.
4. Can we use cow dung water or organic liquid in drip pipes?
No. Only clean water should be used. Otherwise, pipes and emitters will get blocked.
4. What is the best time to use drip irrigation?
Early morning or late evening is best. Avoid during strong sunlight hours in the field because the evaporation rate is high at that time.

Conclusion:
Drip irrigation is not a luxury method. It is a necessity for modern farming. Whether your farm is small or large, this method will save water, enhance yield, and minimize your efforts. You do not have to spend too much time and money. Simply plan well, utilize available materials, and take some advice, and you can easily establish a functional drip system even on a small budget.
With this article, we have tried to explain everything in detail in a way that even a beginner or small farmer can understand and apply. If you still have any doubts, you can visit your nearest Krishi Vigyan Kendra (KVK), talk to other farmers using the system, or explore your nearby agri-input store.